1. Parsing the data from TCP
To receive all important data from the driving simultor OpenDS, we adapt the sendCarData() method once more.
The speedometer needs the speed, the rpm of the engine, state of the turning singals and state of the light (high beam, low beam).
The data will be send as String via tcp. Therefore, we need to cast them back into float numbers as shown below.
The incoming String should look like this: "$SimCarState#0.0#750.0#Off#OFF%"
0.0
750.0
Off
OFF
public static void parseMessage(String nachricht)
{
if (nachricht.startsWith("$SimCarState")&&nachricht.endsWith("%")) {
nachricht= nachricht.replace("$SimCarState", "");
nachricht =nachricht.replace("%", "");
String [] splitNachricht = nachricht.split("#",5);
speed = Float.parseFloat(splitNachricht[1]);
rpm = Float.parseFloat(splitNachricht[2]);
lightState = splitNachricht[3];
turnSignal = splitNachricht[4];
} else {
System.out.println("Something went horribly wrong!");
return;
}
}
2. Communication Arduino Host (host computer)
The data will be send via the serial interface from the host computer to the Arduino because the communication via serial interface is already implemented by Arduino
2.1. Implementing the serial interface with java
http://fizzed.com/oss/rxtx-for-java download the correct library
http://jlog.org/rxtx-lin.html to get the 64-bit library
SimLink: sudo ln -s /dev/ttyACM0 /dev/ttyUSB0
Use the RXTXcomm.jar from the installed Arduino IDE (/usr/share/arduino/lib).
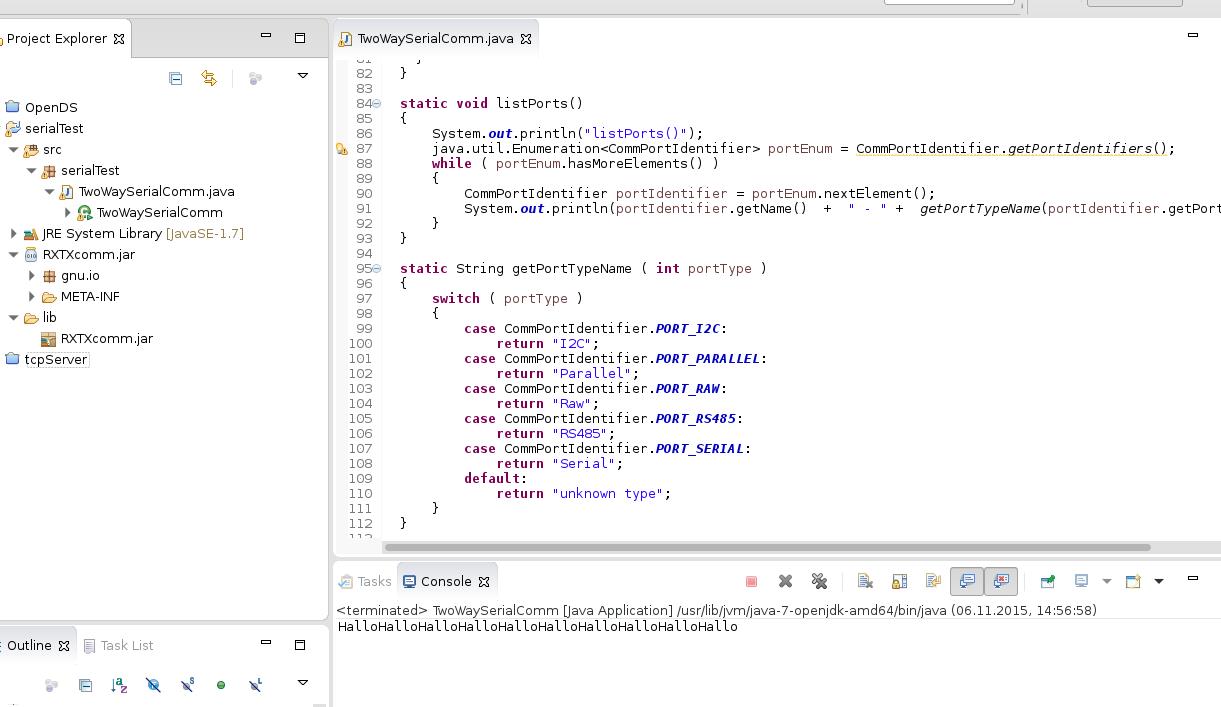
Example Poject in Eclipse
2.2. Arduino Example
// the setup routine runs once when you press reset:
void setup() { Serial.begin(115200); }
// the loop routine runs over and over again forever:
void loop() { Serial.print("Hallo");
delay(1000); // wait for a second
}